Pin It
Oh heeeeyyyyyy!
So this weekend I worked on a little of this and a little of that. I didn't really have a room in mind per say, but I was just fresh off a visit to the dollar store, plus had bought some new yarn the other night, so I went to it.
Yarn Wreath
I started working on this yarn wreath over a week ago, and finally finished it last night, once I decided that I wanted to go with grays and yellows (oh, and a little turquoise) in our bath off the basement living room:
 |
| click picture for a larger view! |
Branches with Flowers
I gathered up some branches from my dead bush landscaping the other day in hopes of prettying them up. Again, days later, I finally finished them (today). I just hot glued on some existing yellow flowers I bought earlier in the year from the Hobbit Lobbit.
 |
| click picture for a larger view! |
Fabric Wrapped Pots
Today, at Easter, my Mom sent me home with 4 ugly little flower pots that I didn't really need, but figured that I could wrap in fabric using Mod Podge. So that's exactly what I did when I got home, see:
 |
| click picture for a larger view! |
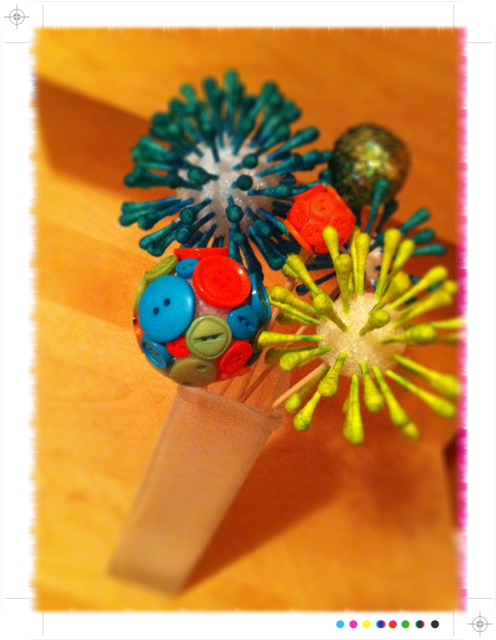
Yarn Flowers
Now, about those yarn flowers you see above. They are super cute and beyond easy to make! I picked up a little bag of styro balls at the dollar store (they came in an assortment of 3 sizes, about 8 to a bag) and simply wrapped yarn around them until they were totally covered. Then I stuck the sharp end of a skewer stick up them (ha!), tied the arrangement how I wanted, and placed those babies in the pot. Done.
 |
| click picture for a larger view! |
The Big Reveal!
So....yarn wreath + branches with flowers + fabric wrapped pots + yarn flowers = a mini bath revamp!
Total Dollas Spent: Maybe $10, with lots of supplies left over.
Before:
 |
| click picture for a larger view! |
After:
 |
| click picture for a larger view! |
 |
| click picture for a larger view! |
So there you have it. I didn't do anything but add the pretties above; no priming, no painting, nothing! It just goes to show you that a little accessorizing can go a LONG way!
Big Smile,
B. Chen


